
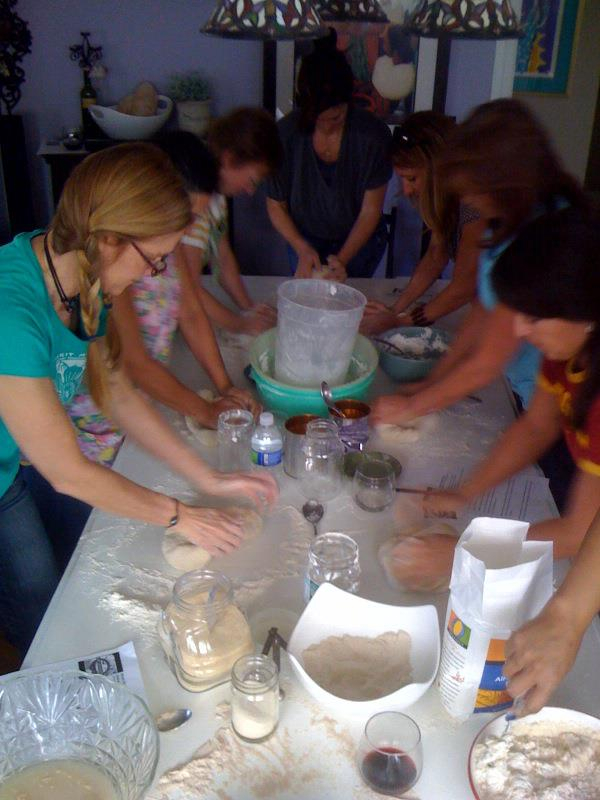
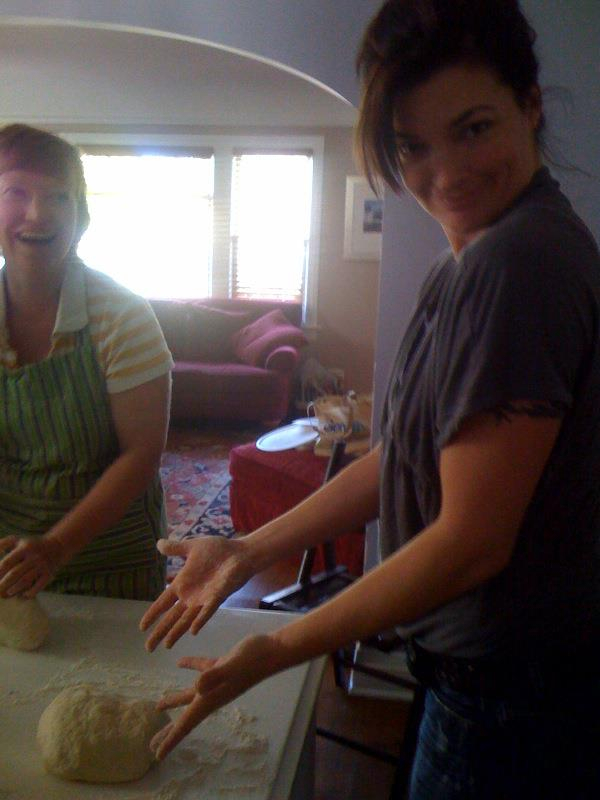
Last Saturday, nine woman stood around my kitchen table kneading bread. My premise for my book in progress, Eat Less Water, is that the most important water conservation that any of us can do happens at the kitchen table. To have a group of people making bread using water sustainable ingredients around my kitchen table was a joyous moment for me.
A participant in the class asked if the bread we made had a lower water footprint than other bread. Each slice of bread whether it is the bread we made in the class or the bread purchased from the grocery store requires 11 gallons of fresh water on average to produce. That number doesn’t change. What changes is the type of water that is used. The bread we baked in the Baking Bread: Water Sustainable Class was made from rain-fed flour, what water researchers call green water. Food grown with green water is the most water sustainable.
As you begin to rethink your food purchases with water in mind learn the source of the water. I always ask if the water it produced using green water (natural rain) or blue water (from reservoirs, rivers, underground aquifers). I look for dry farmed or rain fed food followed by food irrigated with drip irrigation. Finding these answers is not easy in the grocery store aisle, so I encourage you to get out to your local farmer’s market and assemble your own list of favorite food vendors; farmers who as we speak are rewriting the story of water scarcity on our planet.
The second thing to consider when you buy food is water pollution. When you purchase organics you reduce petroleum pollution used to make synthetic fertilizers and chemical pollution from pesticides and herbicides. As you know, water doesn’t disappear but clean water does each time chemicals, nitrogen, and petroleum (all by-products of food production) find its way into streams, rivers or underground aquifers.
The path to a water sustainable lifestyle shouldn’t be overwhelming. Just do a little more than what you now do. We can all do better. And our collective “betterness” will rewrite the story of water pollution and water scarcity of fresh water sources.
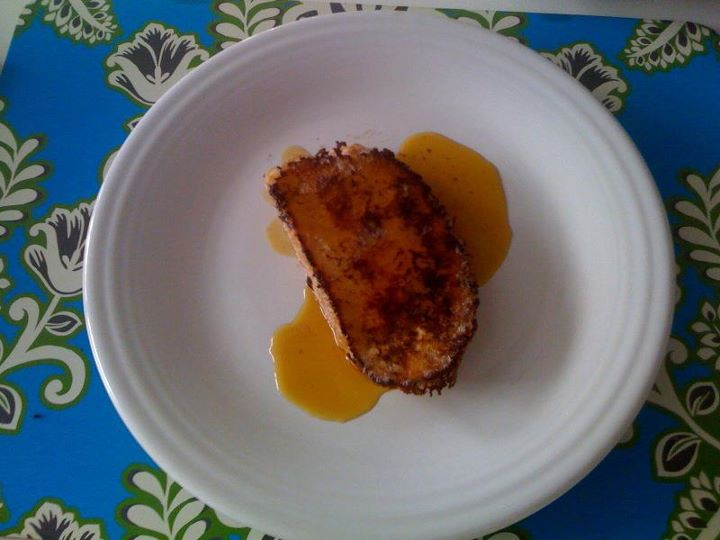
The morning after the class my husband Michael made buttermilk french toast using the french-style baguette we made in the class. Living a water sustainable lifestyle is good and damn tasty.
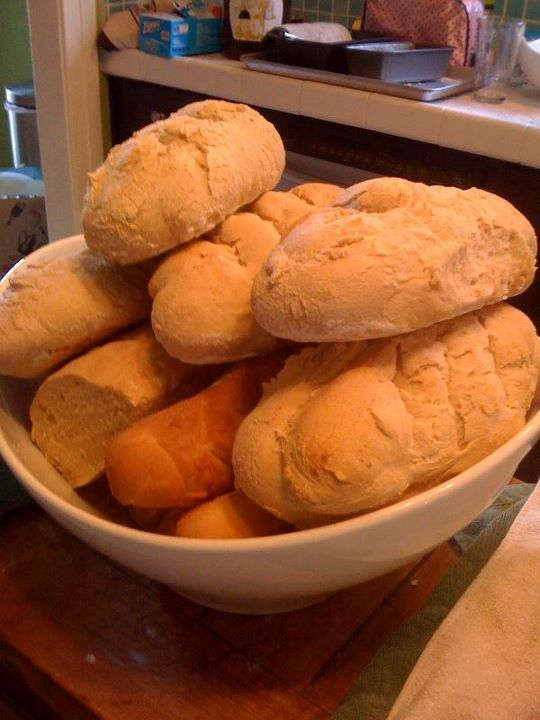
Below is the recipe for the French-style baguettes adapted from a recipe from Beard on Bread. The secret of good bread is in the kneading. As one of the participants said in class, “you need to knead.” So take this recipe, find dry farmed/rain-fed flour and get kneading.
French-Style Bread
[2 long loaves or 4 small baguettes]
2 cups warm water (100 to 115 degrees)
1 1/2 packages active dry yeast /or 2 tsp.
1 tablespoon organic sugar
5 to 6 cups unbleached organic dry-farmed or rain-fed white flour
3 tablespoons yellow cornmeal
1 tablespoons salt
1 tbsp. egg white (from a pasture-raised hen), mixed with 1 tbsp. cold water
Mix warm water, yeast and sugar.
Set the bowl aside for 30 minutes or until the yeast mixture proofs (when you see bubbles).
Combine the salt with the flour and add to the yeast mixture one cup at a time.
Flour a clean surface with flour and begin to knead. You want to knead the dough until it is no longer sticky and transforms into a smooth round lump of dough. You may need to add additional flour (only a small handful at a time).
Place round, smooth dough into a buttered bowl to keep the dough from sticking. Cover with a dishtowel to keep out drafts. Leave the dough to rise. The dough will double in size in about 1 1/2 to 2 hours.
Punch the dough after it has risen (I love this part). Divide the dough into two equal parts. Hand form the dough ( fancy way to say just stretch the dough out to resemble the shape of a baguette) and place on a cookie sheet sprinkled with cornmeal or flour. Slash the tops of the loaves diagonally in two to three places, and brush with the egg wash.
Bake at 400 degrees for 35 minutes (25 minutes if you split the bread into 4 smaller baguettes) or until the bread has a hollow sound when tapped with a wooden spoon. Note: The original recipe calls for the bread to be placed in a cold oven. I have tried both with a cold oven and a pre-heated oven and found the bread to be great either way.
Variation: For a more tightly textured bread, after the first rising, punch down, knead for an additional 5-10 minutes. Return dough to the buttered bowl and allow to rise a second time before hand forming into loaves.
I had so much fun even though my first batch of dough went to the chickens 🙂